
I have issues with lamp shades. I seem to have no aesthetic sense when it comes to size, shape, etc. that is suitable for a lamp. I wish I could just walk into Homegoods or Target and find the perfect lamp shade; but that just doesn't happen with me. I agonize, then agonize some more. I have this thing about the height of the shade -- I don't want to sit in a chair and look across the room and see the bulb. But I never know when a shade will be too long? Also, I want my shade to make a small statement, but not too big of a statement -- not frou-frou, etc. Oh, my!
Several times I have ended up with a self-adhesive shade that I can customize with my own fabric. These are available at Hobby Lobby and JoAnn's, but it seems they are never in the size I think I need. Therefore, I usually end up buying them online from fenchelshades.com where they can customize any size. They have shades with lots of options for fabric and paper covering, but they also have an option for "Self Adhesive:Hollywood Lights". Below is how they arrive with a removable paper covering over the adhesive.

The paper covering is removed to be used for the pattern to cut your fabric.


Once that is done, simply roll the fabric around your shade. It adheres well, but is repositionable so that you can smooth out any bubbles.

Fold under about 1/2 inch where the fabric joins in the back. Some trimming of excess fabric may be necessary. Either hot glue or white glue may be used to join the seam. I prefer white glue as it seems to lay flatter. I was hoping to match up the pattern of the plaid better, but because of the angle of this shade I didn't succeed. I'll just remember to place the seam out of sight!

Now this is where I part ways with the included instructions. They say to trim the top and the bottom excess fabric even with the edge; and then glue on trim to hide the raw edge. I prefer a more finished edge with the trim on the inside. So I trim off the excess fabric to 1/2 inch beyond the edge. Then, fold it to the inside and glue down. I use wooden clothespins to hold it down until the glue dries.

I then cover the raw edge with a gimp or twill tape by gluing it down -- again using my clothespins to hold it into place until dry.

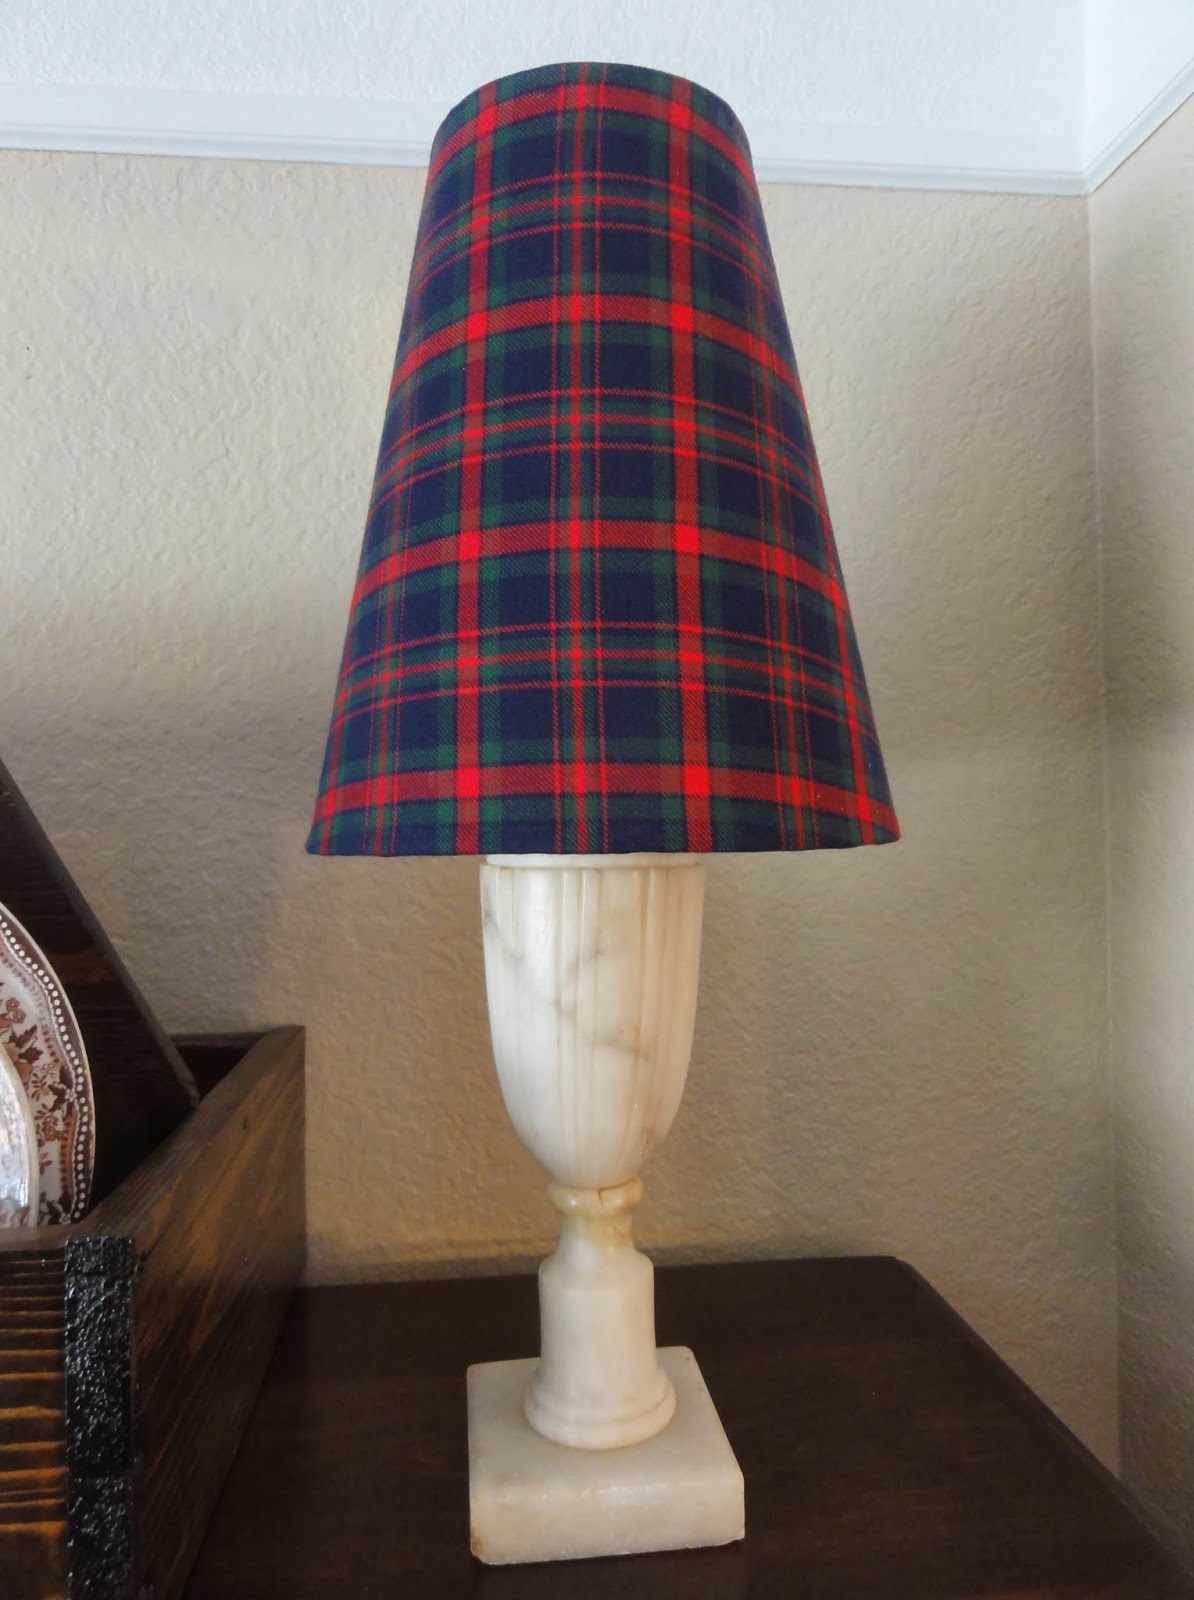
The finished lampshade.


Check out the following blogs for a plethora of inspiration:
The Charm of Home for Home Sweet Home Friday
Common Ground for Be Inspired Friday
Nancherrow for Fridays Unfolded
Pieced Pastimes for Saturday Sparks
Funky Junk Interiors for Saturday Nite Special
Between Naps On The Porch for Metamorphosis Monday
The Dedicated House for Make It Pretty Monday
Our Home Away from Home for Tuesdays at our Home
A Stroll Thru Life for Inspire Me Tuesday
Cozy Little House for Tweak it Tuesday
The Dedicated House for Before and After Wednesday
Ivy and Elephants for What's It Wednesday
Have a Daily Cup for Share Your Cup Thursday
The Vintage Farmhouse for Creative Things Thursday


