Showing posts with label Met Monday. Show all posts

Thursday, September 23, 2010

T-SHIRT MORPHED INTO A PILLOW

A couple of years ago while we were in Paris, we went to this department store called 'Galleries Lafayette'. The architecture was amazing.

While there I bought my granddaughter a sparkly, Paris t-shirt. She came bounding in the other day with this pink and bling t-shirt on. After I commented that she had just about out-grown the shirt; she said, "But, I love it sooooo much!"

So, it was decided that it would live on in a pillow. I found some fabric that coordinates with her shams and comforter and added them to the knit of the shirt. This is the result:

I cut out the label and put it on the back of the pillow.

She was excited today when she came after school to find her new pillow.

This is a good solution for those much-loved t-shirts that just won't disappear!

A couple of hints:

When combining knits with a woven fabric, it helps to stabilize the knit with an iron-on interfacing before sewing to your fabric. This eliminates any stretching that might occur.

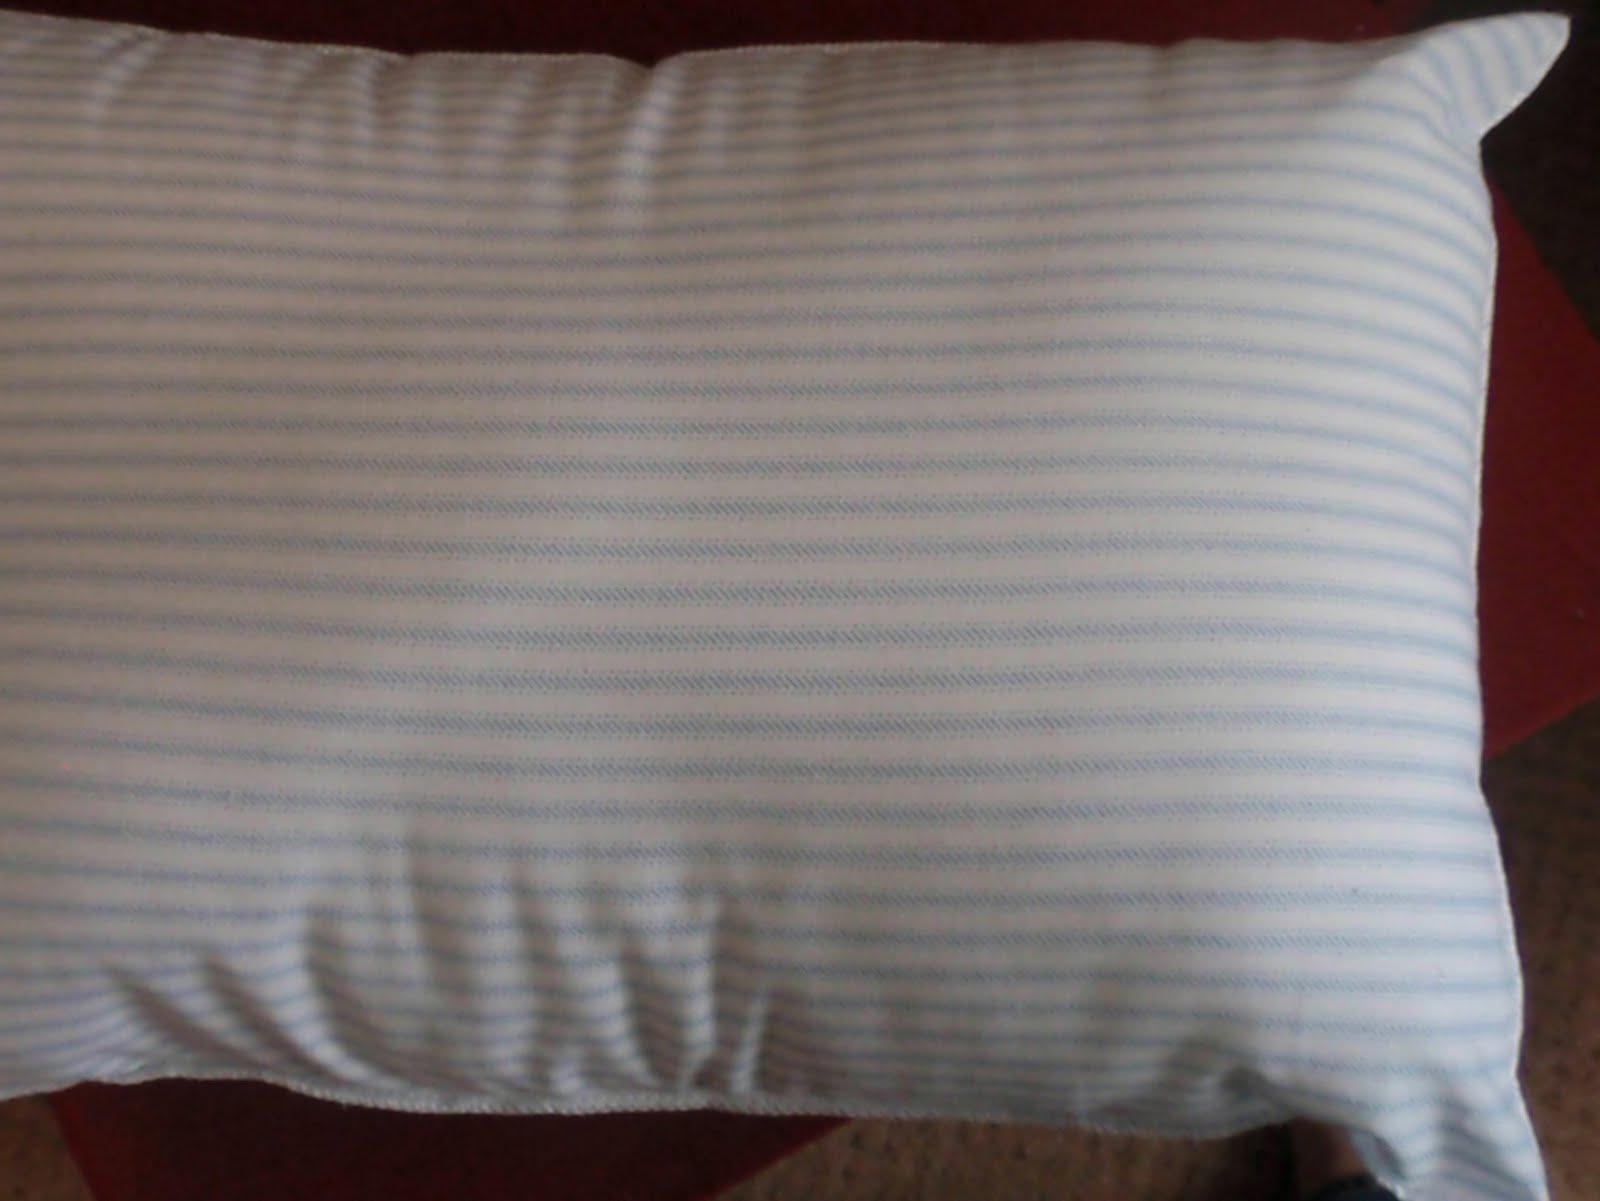
If you don't want to spend the money for a down pillow insert, or even for a quality fiber-fill insert; check the pillow section at Wal-mart. I found this 14" x 20" travel pillow to use for the insert and it was just $2.00. You certainly can't make it for that money; and they are great for teen-age rough and tumble!

I'm linking to Donna's Saturday Night Special
on Funky Junk Interiors.

and

Susan's Metamorphosis Monday
on Between Naps on the Porch.

Check these two blogs out for inspiration beyond belief!!

Saturday, September 11, 2010

IN WITH THE OLD, OUT WITH THE OLDER!

I have a new-to-me china cupboard. It fits the space perfectly, and holds almost all of my hand-painted china collection.

It has pretty details, all original. I've seen similar china cupboards around the blog world painted white and distressed, which I loved; but somehow this natural finish just seems to suit our personal aesthetic better.

The new cupboard replaced this older, Victorian era curved-glass cupboard which we have had for almost 20 years. Whereas it served us well, it had some unpleasant memories attached. It was time to replace it, so I could walk past it without bringing up those memories every time.

Sometimes, you just have to move on!

I'm joining Susan at Between Naps on the Porch
for Metamorphosis Monday

and

Marian at Miss Mustard Seed
for Furniture Feature Friday.

Check these two popular blogs out for lots of inspiration.

Sunday, August 15, 2010

MET MONDAY

Do you remember this chair? Probably not, as I introduced it in my second post two years ago. If you are interested, you may check out that post by clicking here.

I've been waiting and waiting until the time was right to have it reupholstered to rid it of it's ugly green vinyl. We have done some reupholstering in the past; but with its great channel back and sides, I figured it was beyond our capabilities and deserved a professional job.


I took several pictures under different circumstances and still couldn't capture the true color. It really is a wonderful, red tweed fabric. I'm in love all over again with this chair!

I'm joining Susan at Between Naps on the Porch
for Met Monday

and

Marian at Miss Mustard Seed
for Furniture Feature Friday.

Be sure to check these parties out for lots of inspiration.

My posts and visiting have been sporadic, at best, recently. I've been involved in an interesting project for the last three weeks. A friend of mine is the administrator of an estate with no heirs; therefore, everything must be sold. The deceased was a traveler and literally shopped the world, plus was the caretaker of lots of old family belongings. I was asked to help with the organization, pricing, etc. for the estate sale. My computer time has been spent doing research on different items and prices, plus I've been spending full time working at the site. We have about three more weeks of work before the sale can be held. Hopefully, I'll have a lot to blog about when my time is free again. I'll try to pop in once in awhile until then.

Enjoy the remainder of the summer.

Sunday, July 18, 2010

METAMORPHING A SKIRT INTO A PILLOW


I'm slowly working on my winter pillow project. Since I've always wanted wool pillows for my living room to use in the winter, I decided I needed an early start to get it done this year. You can check here and here for posts about my efforts so far.

My challenge was to do them 'on the cheap', so I regularly check at the thrift stores for wool clothes or yardage that would be suitable.
My daughter told me one day she was going to make a run to Goodwill to donate some of her work clothes from several years ago. She has been a stay-at-home mom for four years now, and had no use for them any more. I was excited as I told her that was what I always checked for at Goodwill. So, we cut out the middle man and she brought me three wool skirts - two from Ralph Lauren and a Pendleton!
I loved this red plaid, so the wheels began to turn.
The other Lauren skirt had these classic Ralph Lauren leather fasteners on it, so I combined the two skirts to make this pillow.

I'm already thinking about what my next pillow will be!

I'm linking up with Susan at Between Naps on the Porch
for Metamorphosis Monday.

Thursday, April 15, 2010

OUR NEW (OLD) CUPBOARD

My husband, Bob, has been at it in the workshop again! In February, we went to a super farm auction at my great-grandparent's homestead. (You can read about the experience here.) While I was plotting to score with a winning bid on brown transferware, Bob had won a bid on the bottom cupboard below. He had previously made the top hanging cupboard several years ago to house part of my ever-growing collection of brown transferware.

I questioned his judgment when he won the bid, but it is just the type of project he loves. We think this cupboard was probably a store fixture in its prime; but who knows how long it had been in the family's barn and who knows what it might have stored. It was pretty gross.
Bob stripped, sanded, reconfigured, etc., etc., ETC. On the outside, he used an ebony stain; and the inside was painted in Sherwin Williams Antique Red paint with an ebony glaze to match the hanging cupboard.
The left sliding door now opens to reveal the television, and the right side has more shelves that are empty for now. I envision using this side for future brown transferware storage!
Those finger holes are brass; and the door sliding mechanism is all original.
The cupboard is the perfect size for our small living room; and since this is not our primary TV viewing area, it is nice to be able to hide the TV behind the doors.

I'm linking to the following fun parties. If you have never checked out these blogs before, you are in for a treat!

Susan at Between Naps on the Porch
for Metamorphosis Monday

Donna at Funky Junk Interiors
for Saturday Night Special

Miss Mustard Seed
for Furniture Feature Friday

Sunday, February 21, 2010

MET MONDAY - HEADBOARD


It's time for a new project! Ever since we bought a king-sized bed 18 years ago we have not had a headboard. I was tired of losing my pillow down between the bed and the wall, but couldn't decide what type of headboard I wanted. The problem was that I absolutely love our bedroom furniture, which my parents purchased new in 1937. It is walnut and the quality is wonderful. The set consists of a four-drawer chest of drawers, a dressing table with bench, and a full-sized four-poster bed. Pictured below is the chest and the dressing table. The bed is up in the attic waiting to be reunited with the others someday in the far future. The bedstead is so beautiful, I just couldn't make myself somehow cut it up to make a king-sized headboard.

I had been thinking an upholstered headboard just might be the thing; then, Bob brought home these pieces of a former twin-size head & foot board that he salvaged. So we decided to use the posts in combination with the upholstery. After Bob redid the posts, he cut 2 pieces of plywood for the base of the upholstery.

We then upholstered the plywood with 1" batting and the toile fabric that matches the dust ruffle. We added the antique brass tack strip 1 1/2 inches in.

I always like to finish the back of anything - you never know when part of it will show. So we stapled this fabric on the back, and covered the staples by gluing on the gimp.

The three posts were attached to the two upholstery boards, and now we have a fast and inexpensive headboard that compliments our great walnut furniture!


I'm joining in on Metamorphosis Monday this week hosted by Susan at
Between Naps on the Porch
.
Check out her blog for a list of all of the participants.

Sunday, November 29, 2009

ALMOST A NEVER ENDING PROJECT

I've been thinking about this project for at least ten years - pondering it, dreading it, avoiding it!!!

We have eight dining room chairs that are old, but very sturdy. They are comfortable except they do not have upholstered seats. They desperately needed cushions but I never could find any that I liked in my price range. So, in September I decided I just needed to bite the bullet and make them myself with a deadline by Thanksgiving. In my frugal mode, I needed to use some of the various fabrics that I had in my stash. There are five different versions using a total of seven different fabrics.

I made 32 yards of cording, inserted 8 zippers, made 16 velcro tabs, used 2 spools of thread and 8 yards of fabric, and used up about all of my patience. It seems that the older I get, the shorter my attention span is.

I had a hard time deciding what to use for the inner cushions. Locally, foam was VERY expensive. I finally found a place online that cut the foam, then wrapped and secured the batting over the foam. All eight inner cushions with postage only cost $48. If I had done the inner cushions myself, it would have cost almost three times as much. I was very pleased with the quality, too.

After I received the inner cushions, it was very intimidating to see the stack on the left knowing the work that was coming. But, here they are all done. I prewashed all of the fabrics and inserted zippers in the back boxing, so they can be removed for the laundry. The cushions on the six chairs that are always around our table can be flipped over so that they all match.
The other two chairs are used elsewhere, and only brought to the table when needed.


I'm joining a couple of parties today. Please check out Susan at
Between Naps on the Porch.
Susan is hosting Metamorphosis Monday where there is always so much inspiration.
Also, I'm joining Cielo at The House in the Roses.
Cielo is hosting Show Off Your Cottage Monday. Here you will find cottage lovers with ideas to make a cottage more comfortable and charming.
Edited to add: At the suggestion of Miss Mustard Seed, I'm also linking to her Furniture Feature Friday. Be sure to check out her blog for the most amazing painted furniture and accessories. She will also have a list of the participants of this week's FFF.

Saturday, September 26, 2009

OUR SUMMER PROJECT


Thanks to Susan at Between Naps on the Porch
for once again hosting Metamorphosis Monday. Be sure to check out her blog for a list of the participants this week.

FINALLY, I have a metamorphosis to post about. All summer we have been working on a project to make the flow better from our front door, through the entryway, and into the dining room. Phase I of the project included adding a mudroom in our garage with a large closet. You can read about that part of the project here, if you are interested.

Phase II included demolishing the coat closet in the entryway to make more room, then tearing down the wall between the entryway and our dining room.

In the past, when you entered through the front door this is what you would see. The front door opened the wrong direction, and guests were left trying to decide which way to go. There was a tendency to want to go down the hall to the bedrooms and not into the living room or the dining room.

In this before picture, the closet is on the right with the doorway on the wall into the dining room.

Now, this is what you see when you enter the front door and are standing in the entryway.

In this before picture, this is what you saw from the dining room looking into the entryway. That is the former closet on the left that was demolished.

In this after picture, this is the view of the entryway and front door from the dining room. The old wall and closet were where the little desk now sits. The front door has been switched around and now opens into the entry.


Bob did all of the demolition work, redid the hardwood floor, and redid all of the crown moldings and baseboards plus repainted the hall, entryway, dining room and kitchen. We did hire out the electrical work and had a friend who used to do high-end wall finishing work heal up and finish the walls. He did a wonderful job, and you cannot tell where the closet and wall were.

Then, we did a couple of small metamorphosis projects for the dining room. Years ago Bob made this plate rack for me when I was more into the shabby chic look. It has been up in the attic for a couple of years.

He put a stained bead board back on it and painted it black.

The second mini-met project was the painting of this wardrobe which over the years has stored linens, then displayed my collection of German Lustre dishes.

My collection has gotten out of hand, and I needed space to store dishes, not just display a few. So, the cupboard now has lace curtains on the inside of the glass doors to hide my addiction.

There you have it! Our house is quite small, and this remodeling project has really opened it up and it flows so much better. It took me 6 1/2 days of solid cleaning to get everything back to being livable. Now, we are decked out for Fall and ready to celebrate birthdays and the upcoming Holidays.

Saturday, August 22, 2009

MET MONDAY MUDROOM

Susan at Between Naps on the Porch
very graciously hosts Metamorphosis Monday where everyone has a place to show off their before and after pictures. Be sure to check out her blog for a list of the participants this week.

Every summer we try to tackle a big project. This year it was time to build a mudroom using a small portion of our garage space. My husband, Bob, is always working in the garage (aka the workshop) creating dirt and sawdust. We were tired of the freezer, etc. covered with dust. In the large picture below, the freezer formerly set up on that platform just outside the kitchen door. He had started installing the studs for the new mudroom; then in the small picture, he had installed the new sub-floor.

Here are the three men in my life working on the drywall and insulation.
Here is the completed mudroom after seven weeks. Bob did all of the work himself except for the electrical and a weekend's help from Mike and Wyatt.

In the upper left corner picture below is the door to the garage with the freezer on the left and a cupboard for storage on the right. In the bottom left picture you can see the door to the new closet on the right of the picture. The big picture on the right shows the open doors to the closet and to the kitchen.

In the new closet on the left of the picture below are double hanging rods for our coats. Behind the coats, there is storage for seven huge tubs of Christmas decorations. In the upper right picture below there are shelves with tubs to hold stuff like light bulbs, sweeper attachments, etc. and storage below for the two sweepers.
The bottom right picture again shows the freezer and the door to the garage. We still have room above the freezer for a cupboard if we decide we need it.

The area is not huge, but we are already enjoying it immensely.

This is just Phase I of the summer/fall project. Now that we have the new closet, we are going to demolish the old coat closet, knock down a wall to enlarge and improve the flow of our front entry. Stay tuned to view more dust, dirt, and mess at our house.

Sunday, August 2, 2009

OUR FIRST PLACE!

Metamorphosis Monday is once again hosted by Susan of Between Naps On The Porch.
Please check out her charming blog for all of the participants today.

To me, this is an unbelievable metamorphosis. Forty-seven years ago, we bought our first house - this cute, little 1940's house on a half-acre lot in Denver.

We sold it a couple of years later to return to graduate school, but it always had a place in our hearts as Our First Place! We knew that in the 1970s someone had added a simple second story to the house.

Well, a week ago, we were in the neighborhood and decided to drive by our old house; and this is what we found! The house had been added on to the side and the back even more; then refaced with rock and stucco. Not too much was recognizable - just the front living room window and a jut-out of the front bedroom with it's little side window.

There was one thing we recognized, however. The picture below was taken in 1963. My Dad had filled this barrel with concrete and added the post for our mailbox. It weighed a ton!

Here is the picture of the mailbox we took this past weekend. Evidently, no one can destroy that barrel of concrete.


Time marches on!!